

Getting the the Print – Part 2 The Darkroom
Getting to the print is invigorating, exhausting, time consuming and can make you feel a little bit like a bat and smell a lot like developer. Sometimes it’s utter heck to get everything just right. I don’t know how many hours I spent in the dark room but it was a lot. I’m guessing I probably easily spent 50 hours there last semester. Which is actually really easy to do in a dark room. That’s around 10 hrs per project. Take into account the time spent photographing. For each project I easily 45 minutes per 36 exposures (per roll of film) just capturing the moment.
Then developing (for me) took about one hour. Another hour for drying time. Then and I STRONGLY mean if you have GOOD negatives then to get a GOOD print it can take an hour and a half pretty easy per print you decide to pursue. Most of my projects had three or more prints required. Oh and that’s if there are no hiccups because at least one time in your dark room career (and more if you’re me) you will mess up. You’ll load the film wrong (in the camera or onto the reel) or take really crappy negatives because the light was be bad so there’s no contrast or your f stop isn’t quick enough so your photos are blurry. Or you may be using a developer/fixer that isn’t correctly mixed or be on an enlarger that’s bad. Technical mistakes are often very unforgiving both in the digital and print world. But at least with a digital camera you can tell it’s a bad photo before you waste money printing it and time deciding to fix it.

This is how the dark-room looks. Dark of course! And just so you know there should never be any electronics or overhead lights on in the dark room. So – you’re getting to see it how only the person who sets it up sees it:) The first step to making a print is to make a contact sheet of your negatives. You will trim the film into sections across a light box. You will place your negatives on top of a sheet of paper and underneath a sheet of glass.


After this you will turn on the enlarger (pictured above) for a specific amount of time depending on the quality of your negatives and the enlarger you are using. You will typically do a ‘test strip’ with strips of the paper exposed to amount for different amounts of time to determine what is ideal beforehand.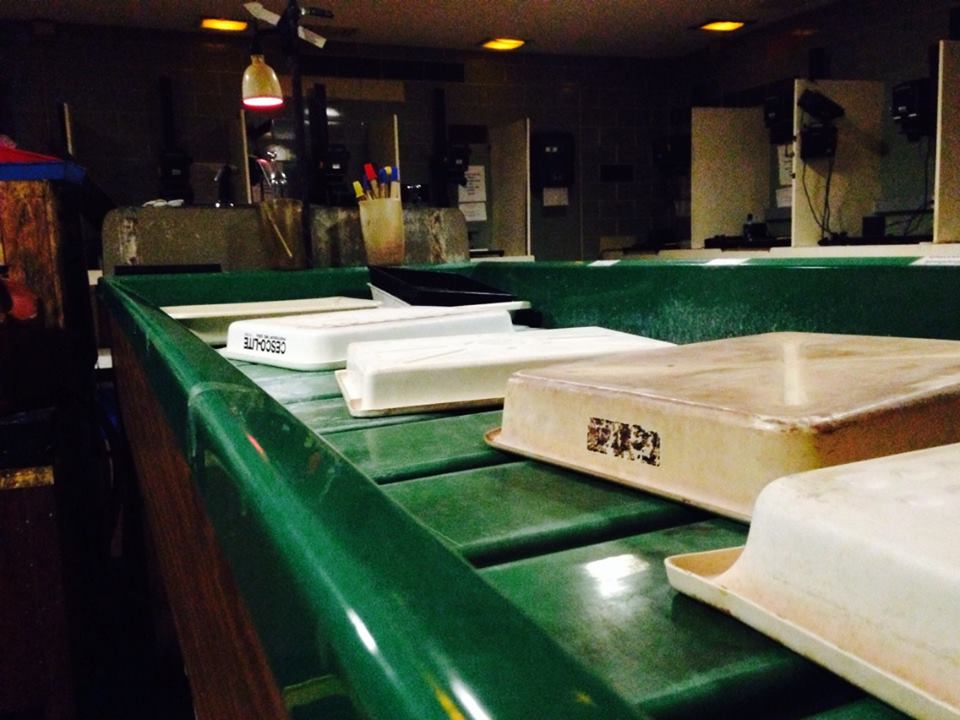
Each of these tubs are filled up with different chemicals.
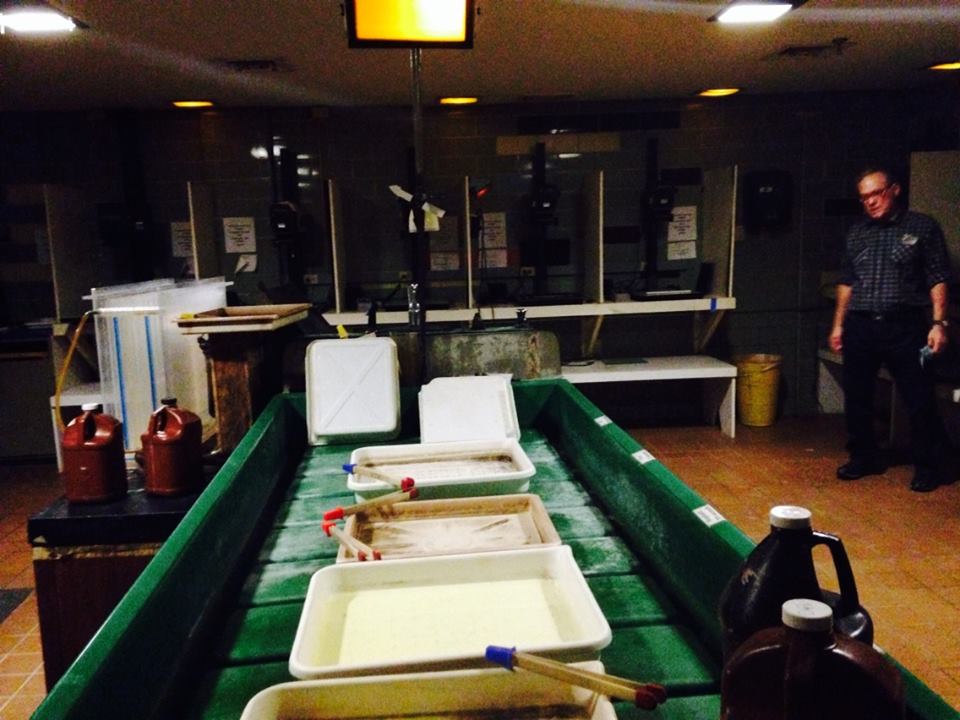
The first tub contains developer and you will immerse your contact sheet and gently agitate it for 2 minutes. This activates the silver in your paper. The next tub is full of stop bath and you will immerse your print for 30 seconds here. The third tub is full of fixer and this takes 2 minutes to ‘set’ or ‘fix’ the image. Next you immerse the image in HCA (Hypo Clearing agent). At this point you may take the wet image out to view it outside of the dark room. Next you’ll place it in the washer for ten minutes. (pictured at the end of the table).
This is what a contact sheet will look like:)!
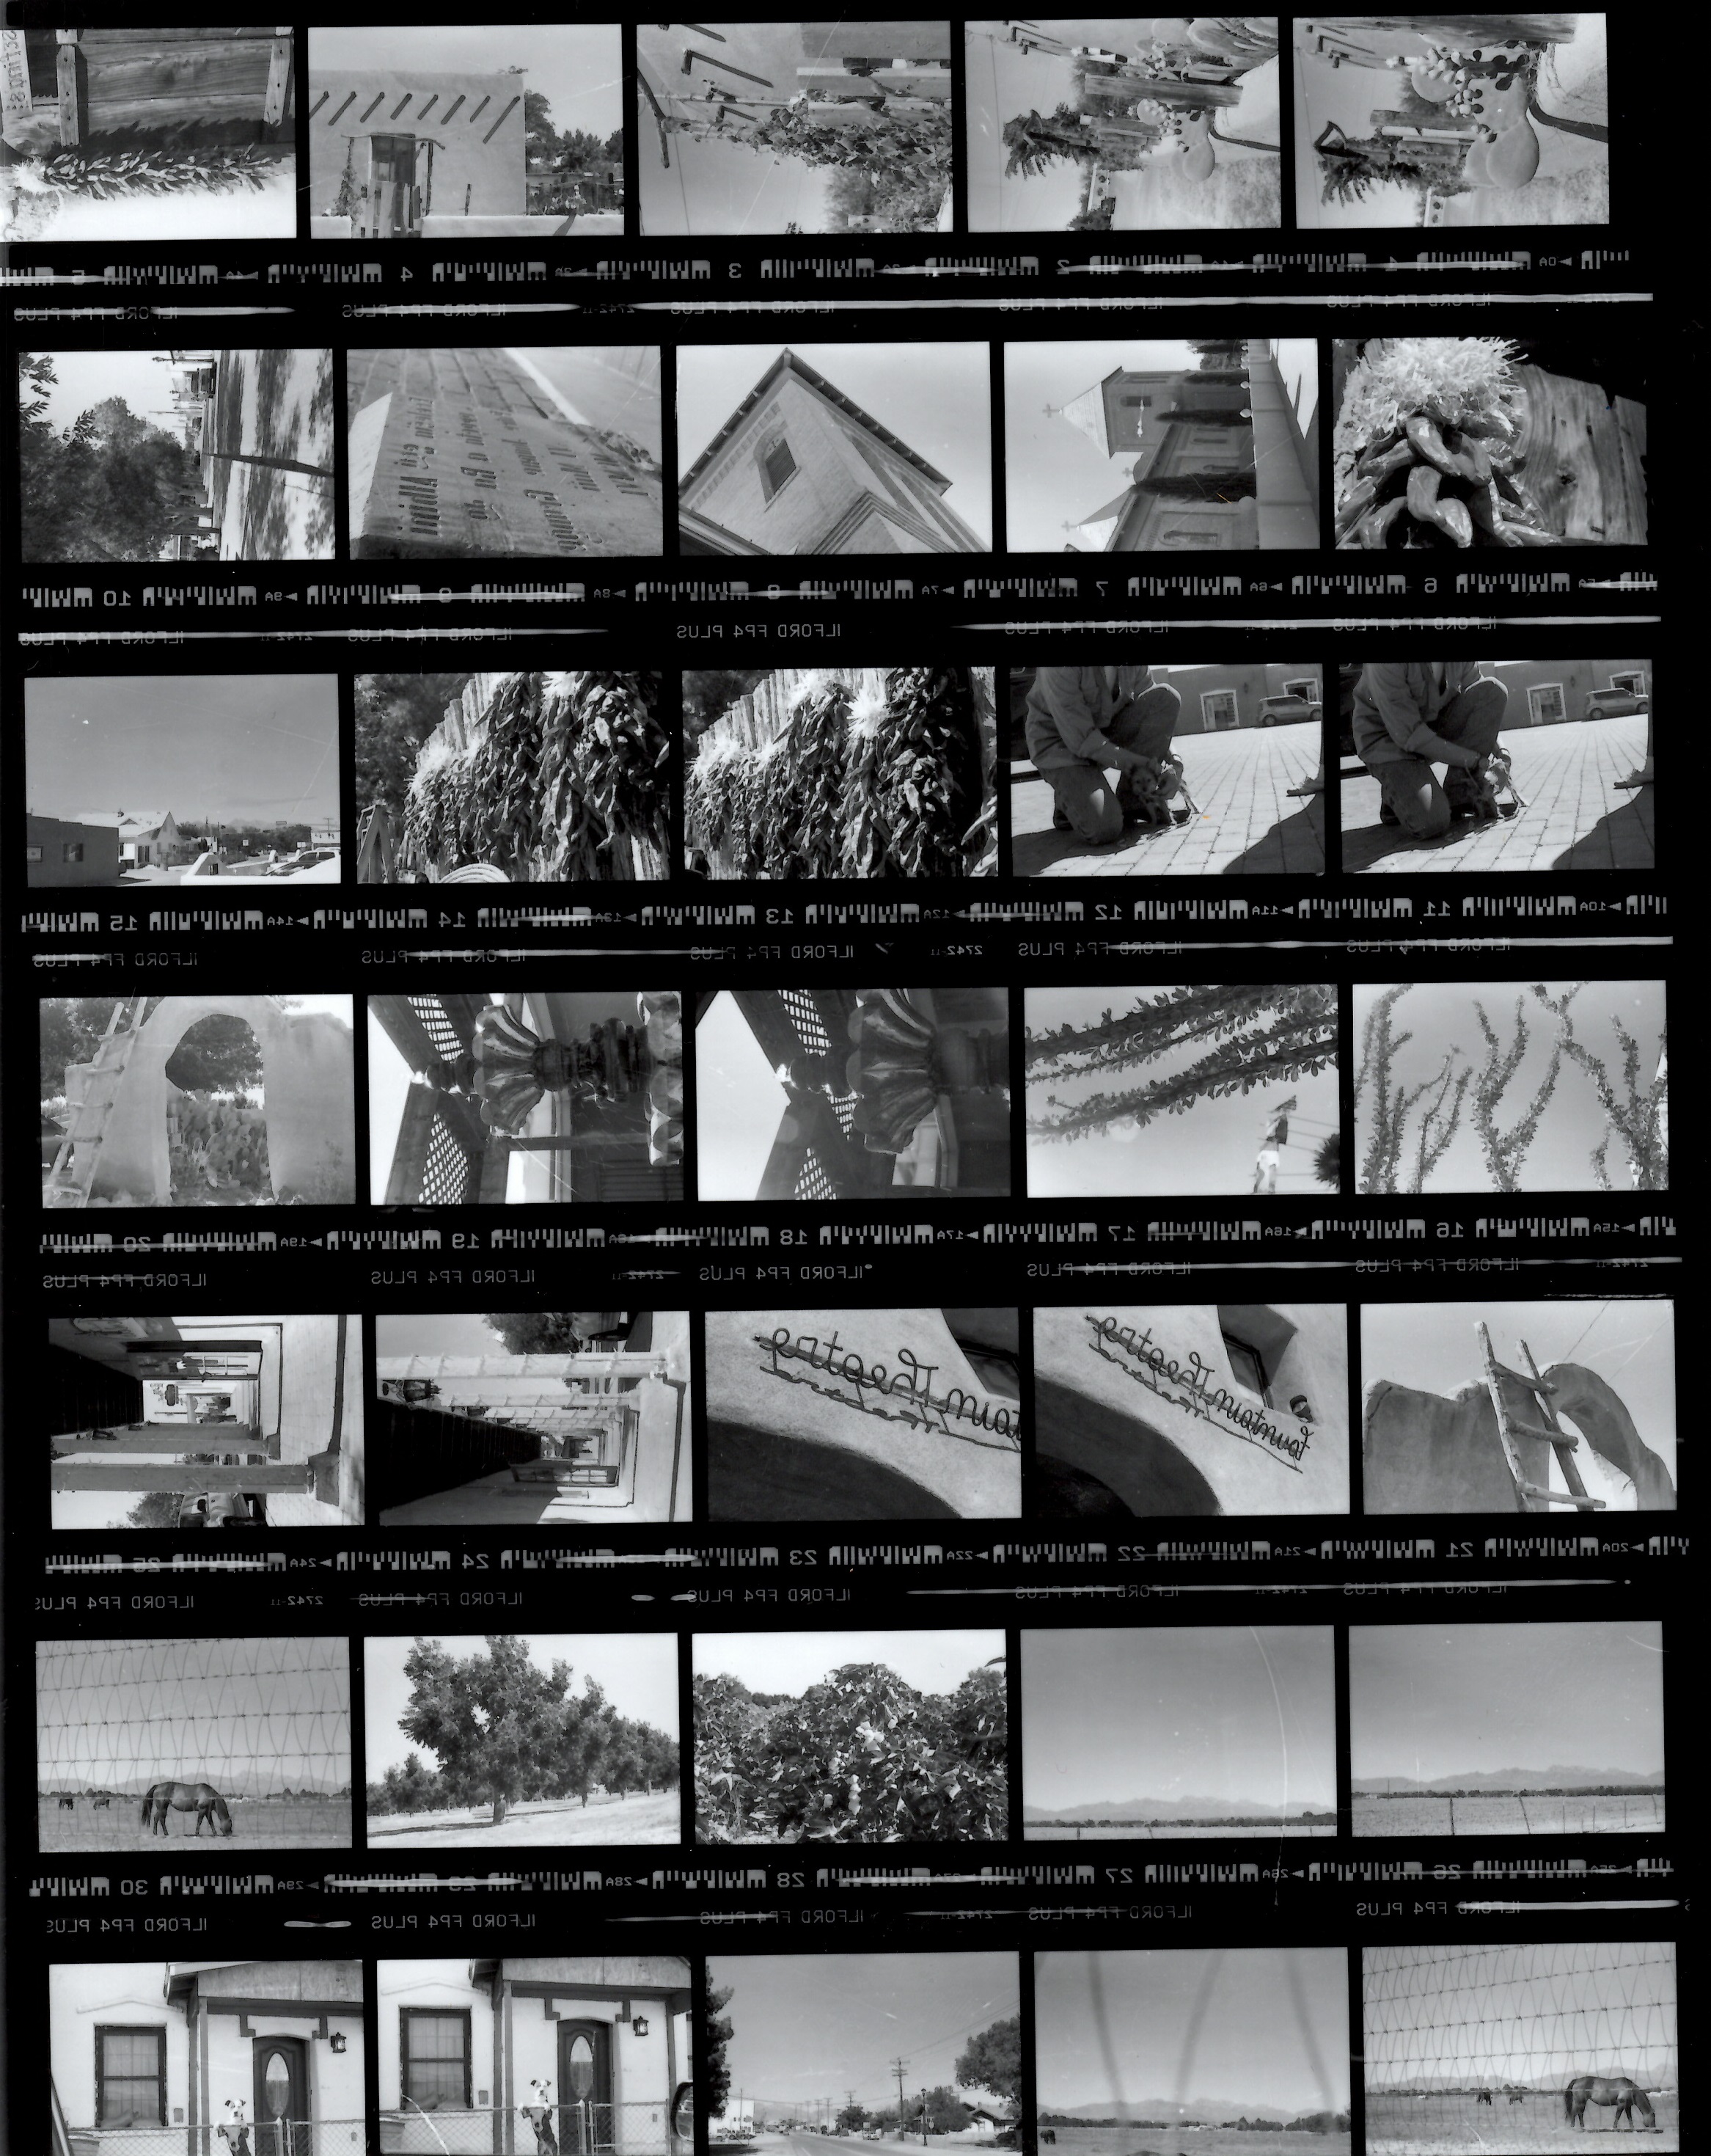 At this point you can tell what will be feasible to print as an individual image and what you want to print! For instance: I like this frame with the Chile ristra. So: I’m going to print that one!

Next you’re going to load the negative you want to print into the negative carrier in the enlarger. You’re going to have to do all of the steps to develop a print again but I’ll take you through the steps with the end products.
This is a test strip. Each strip was exposed for a certain amount of time: 4 sec’s, 8 sec’s, 12 sec’s 16 sec’s. So now we know that 8 sec’s is desirable:)
 The next step is to dodge/burn in to your picture. This is dodging it means I’m exposing this area of the photo for less time so it will be lighter. Burning in is the opposite.
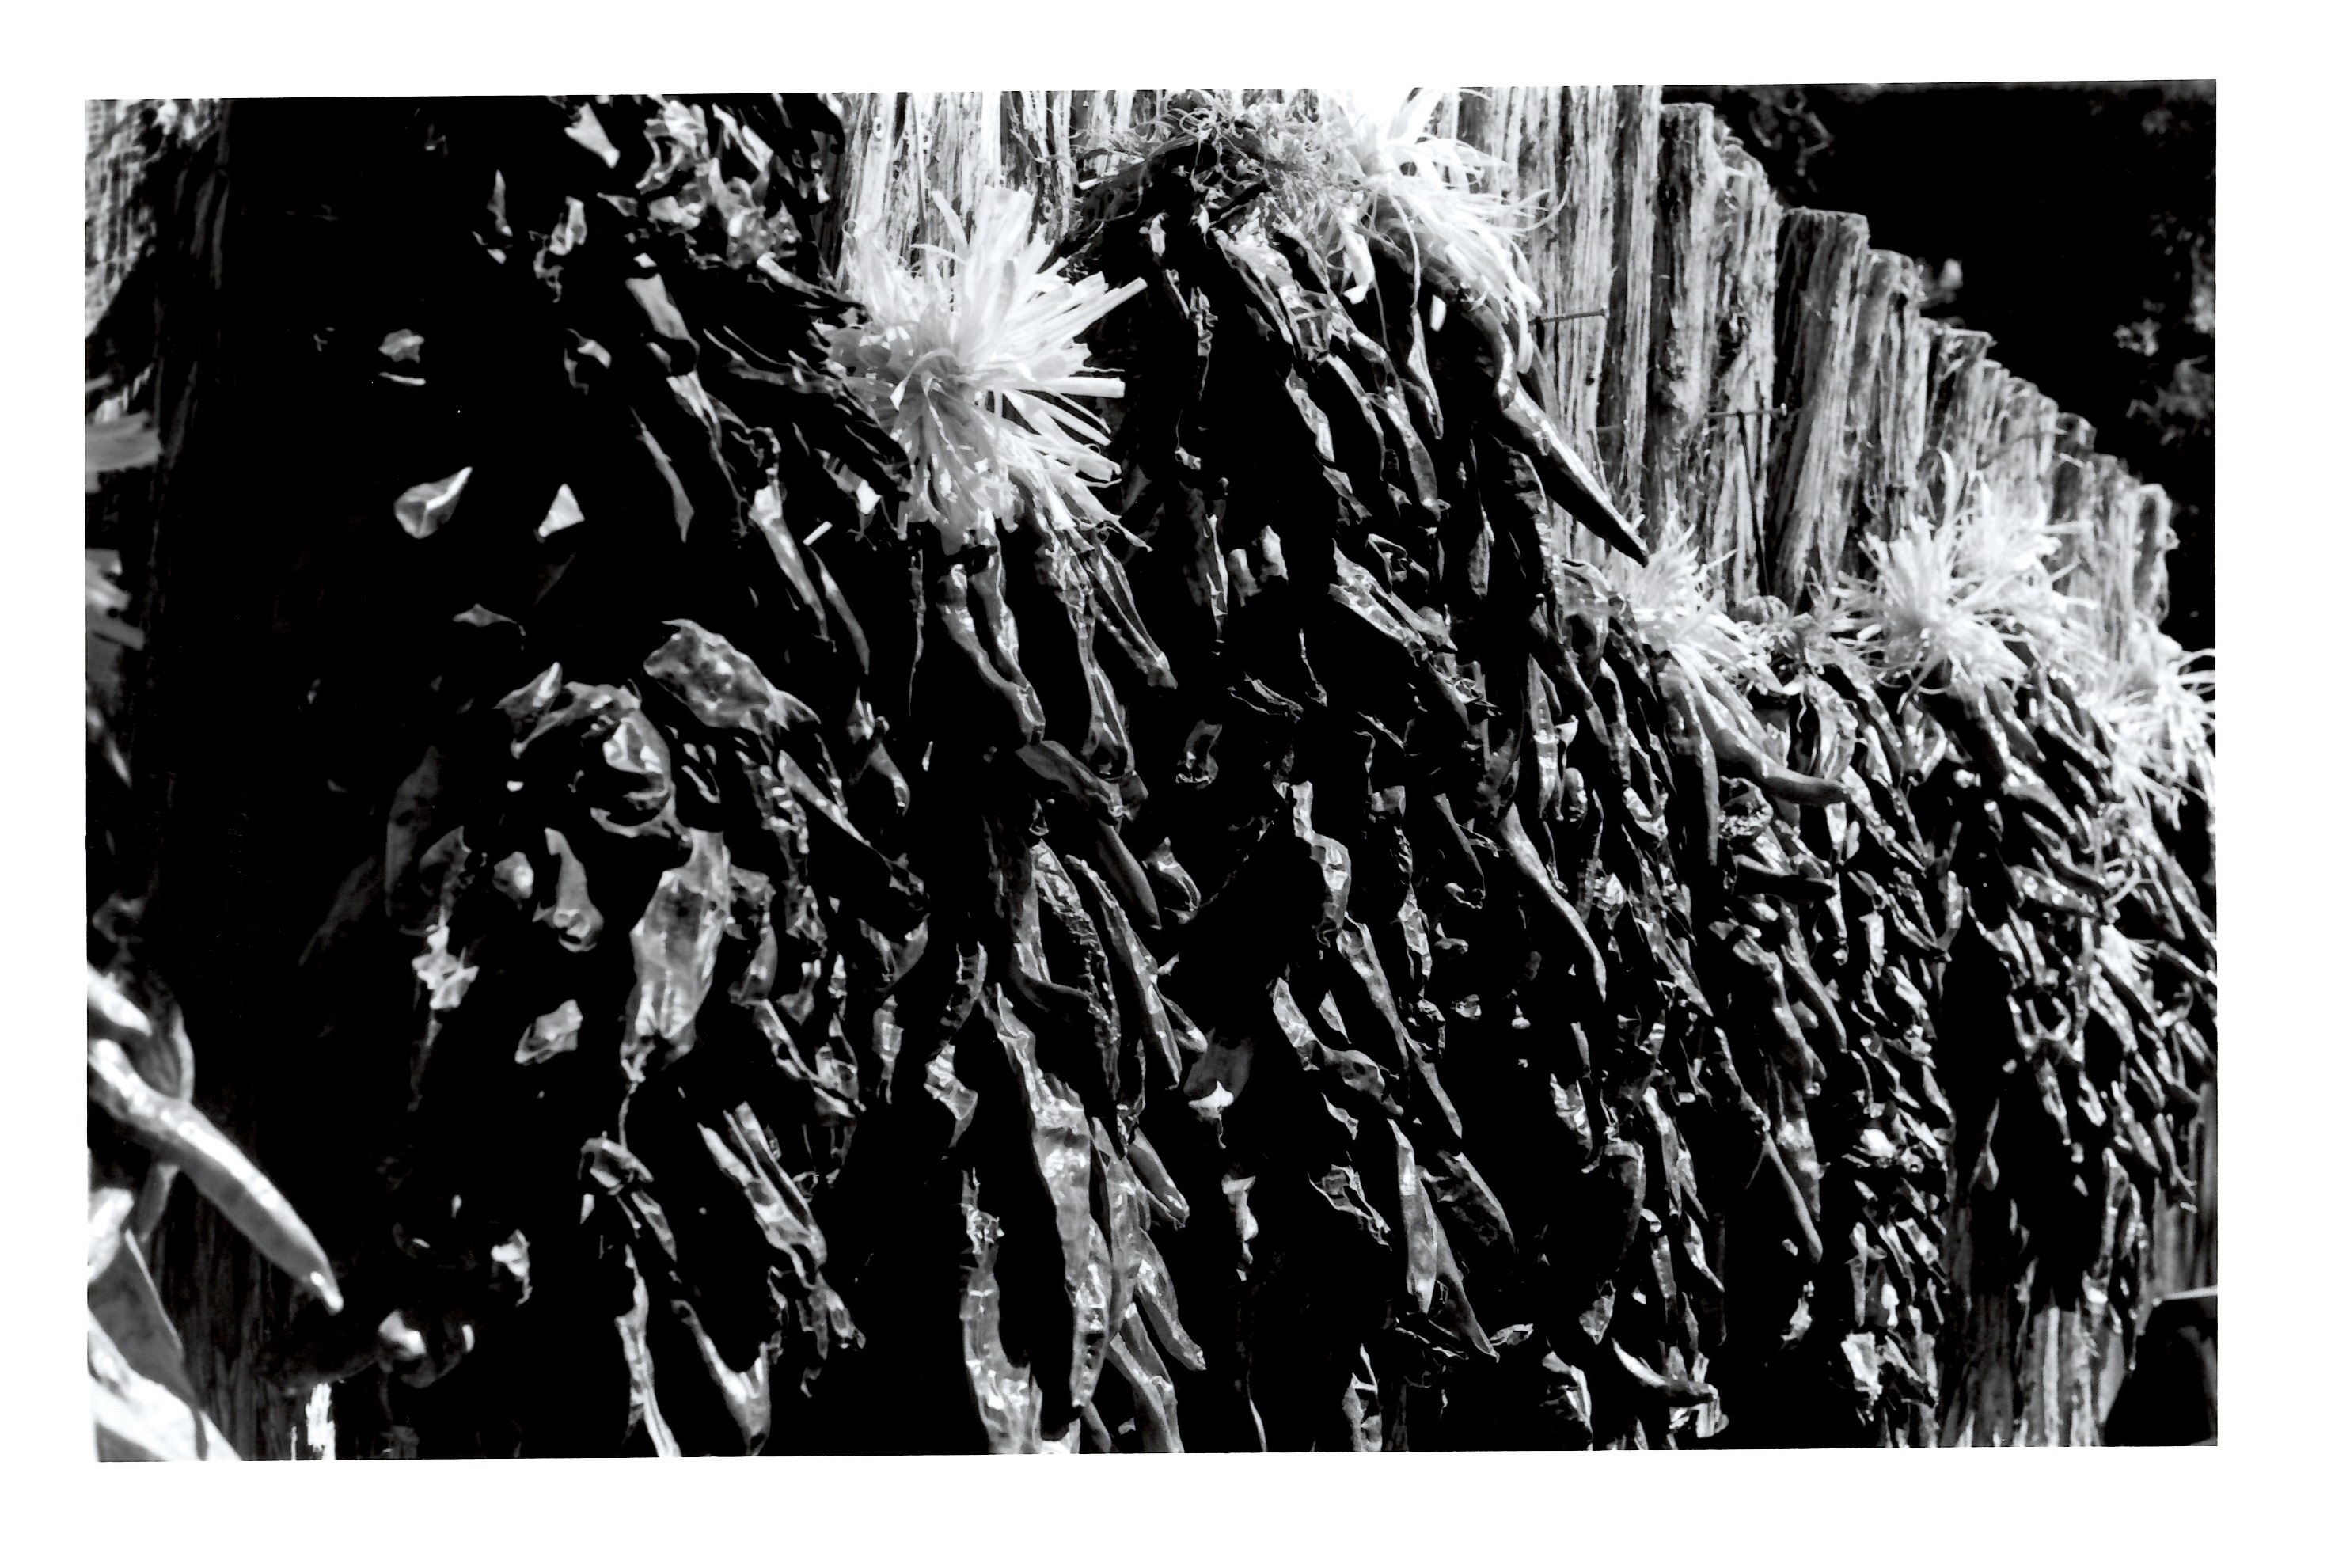
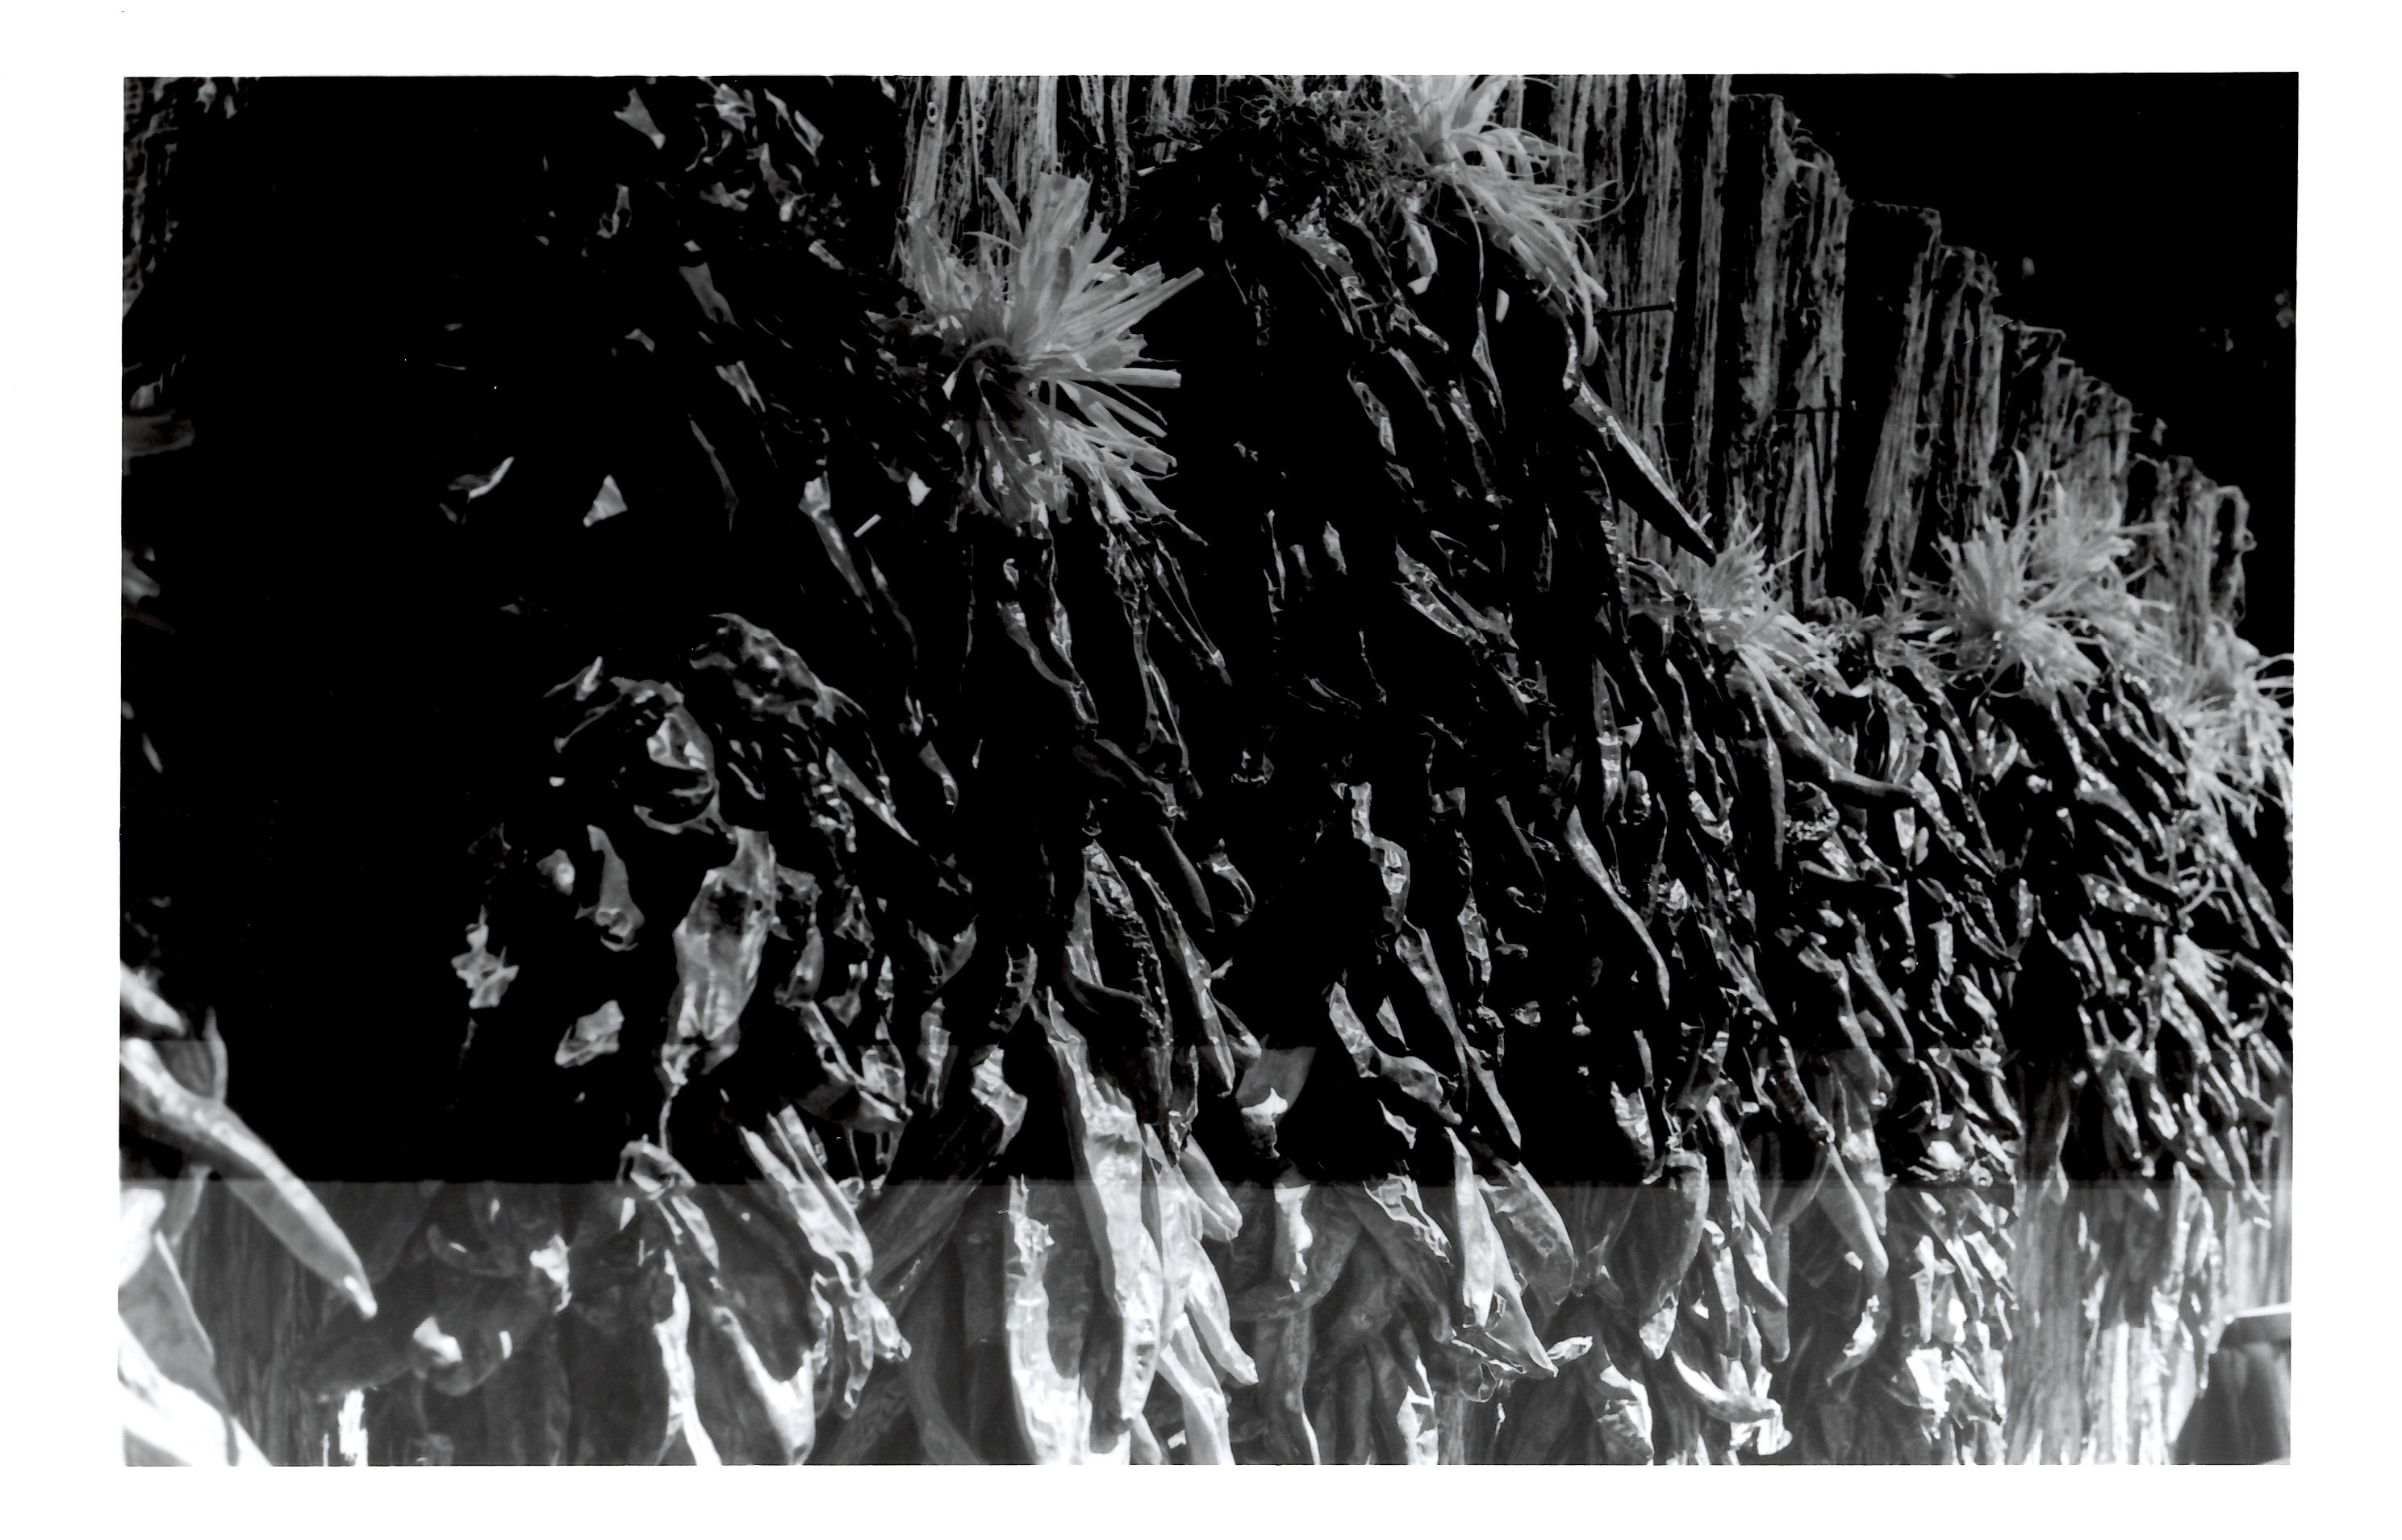
Now the left side of the ristra is more visible and wa-lah I have a print:)
Here’s some of the other photos I’ve taken and developed in the dark room!

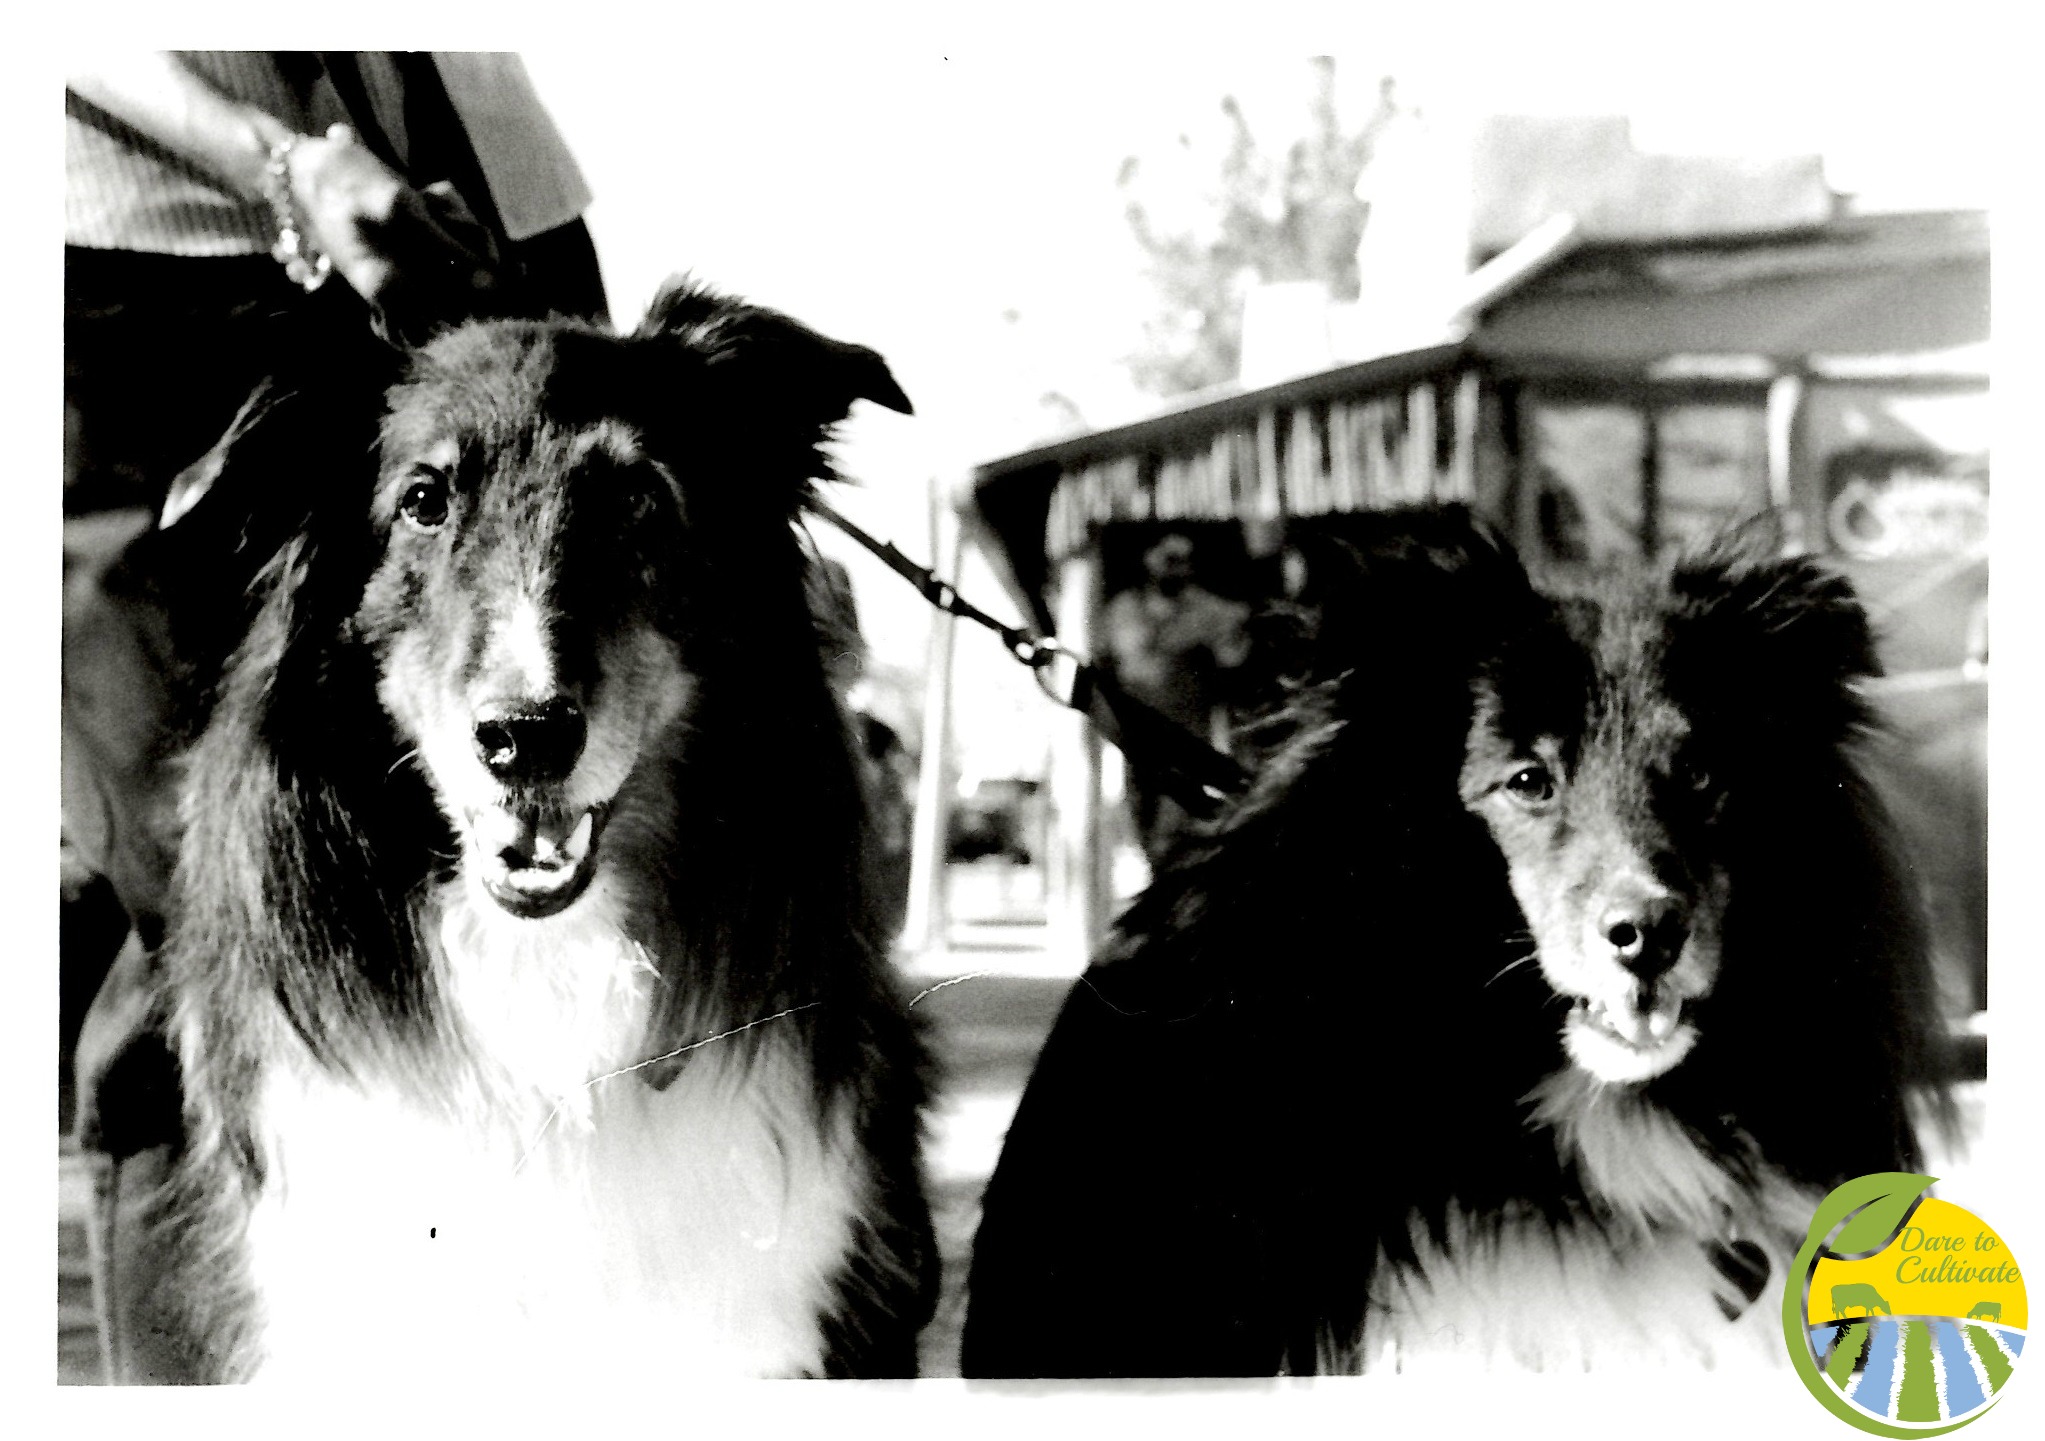

I really enjoyed taking these photos and hope you enjoyed seeing how I made them!
Thank you so much for reading:)
-Lauren


